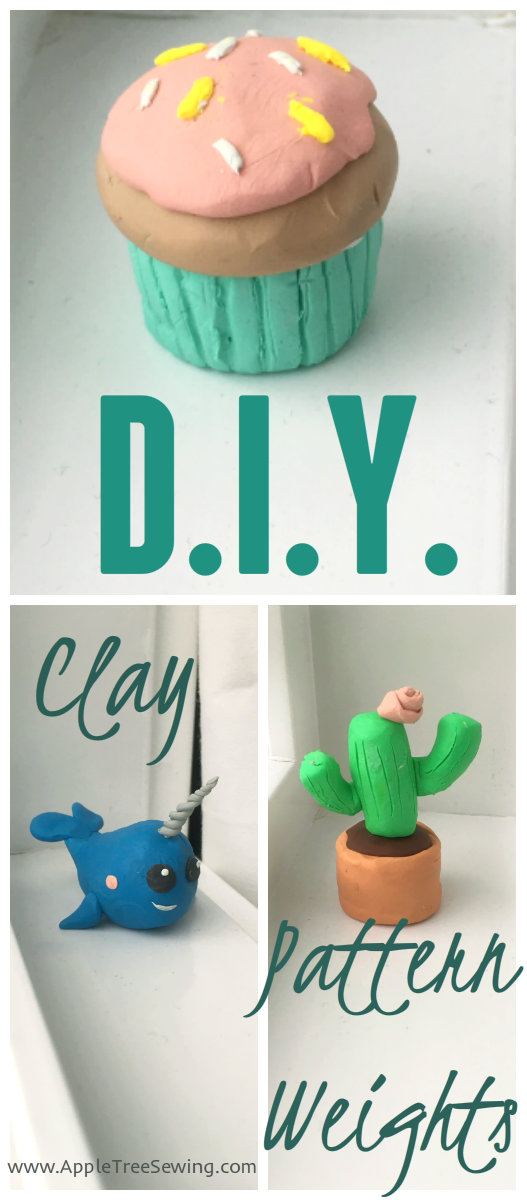
Have you seen these super cute donut pattern weights on Etsy?! The Oh Sew Quaint shop has all sorts of scrumptious looking sweets that are actually pattern weights. After seeing the pattern weight donuts shared on a Facebook group I’m was inspired to make some sweet treats of my own.
Here’s how I did it (cupcake style):
Disclaimer: I this is the first time (to my knowledge) I have ever worked with clay. I don’t actually know what I’m doing.
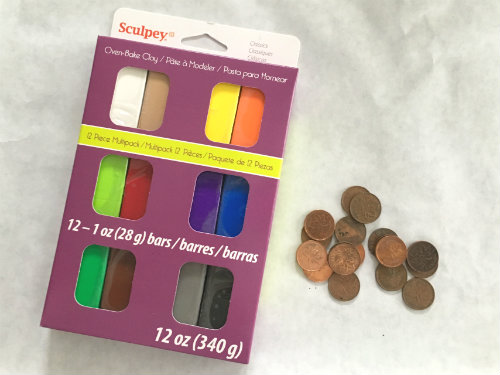
You will need:
- Over Bake Clay
- Coins, washers, nuts or other small dense objects you no longer need (to place inside your figure to make it heavier). I used pennies, but would probably use something larger/heavier next time.
- Some sort of non-stick surface (I used freezer paper- but NOT to cook on)
- An old sewing needly (or safety pin)
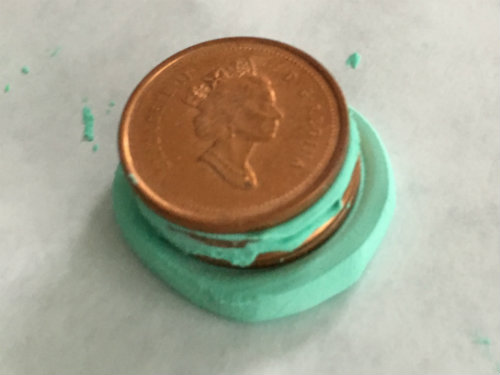
If you are working with coins,place a bit of clay (in the colour of your cupcake base) on top of on of the pennies, then place another penny on top, sandwiching the clay between.
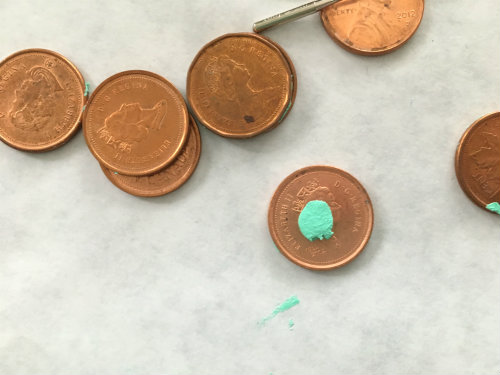
Repeat until you have reached your desired thickness (I used 5 pennies). Be sure to press the pennies together so any excess clay squishes out the sides.

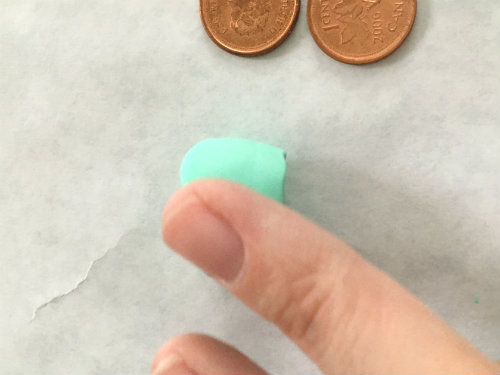
Roll a small ball of clay, so the circumference of the ball is slightly less than the circumference of the coin.
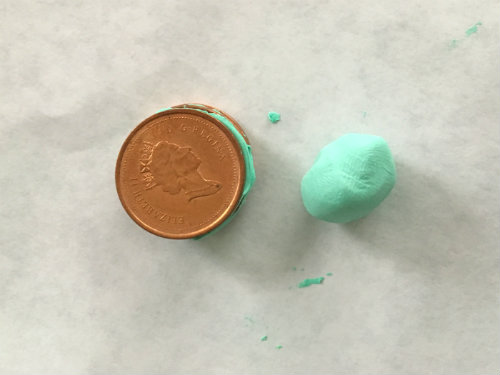
Squish the ball of clay onto the bottom of your pile of coins.

Push the coins down so they are sitting parallel to the flat surface you are working on, with a thick layer of clay beneath them.
Roll the edges of the squished clay ball, up the sides of the coins.
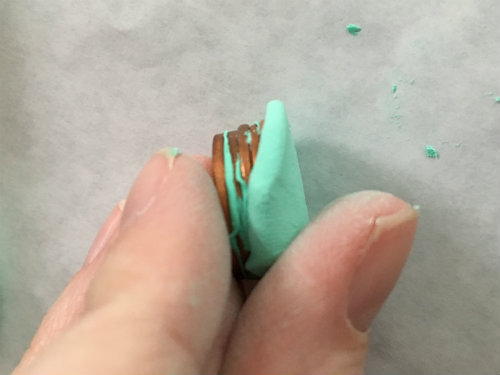
Create a roll of clay long enough to wrap around the edge of the pennies.
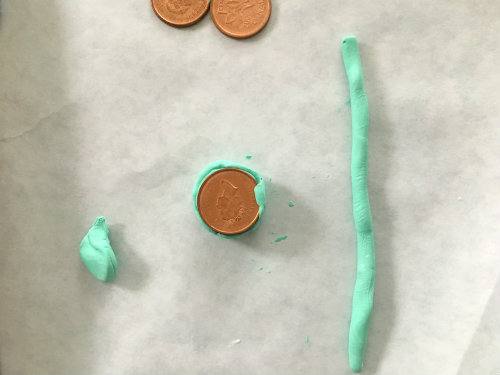
Wrap the clay roll around the pennies, near the top of the pile.

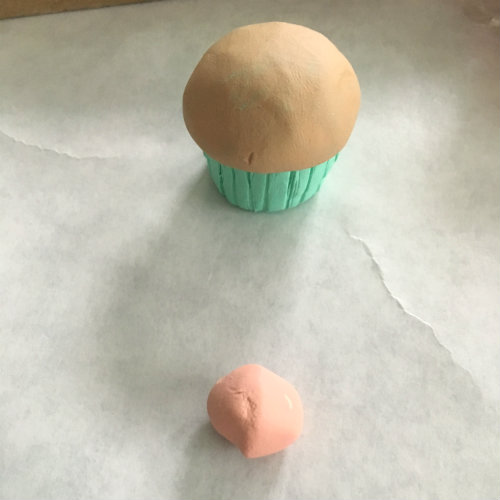
This is the start of the base of the cupcake. Roll the edges of the cupcake base on your flat non-stick surface, trying to create a tapered shape towards the bottom (I didn’t have much success getting a tapered shape).
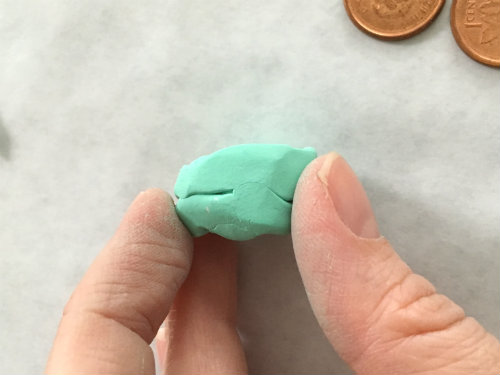
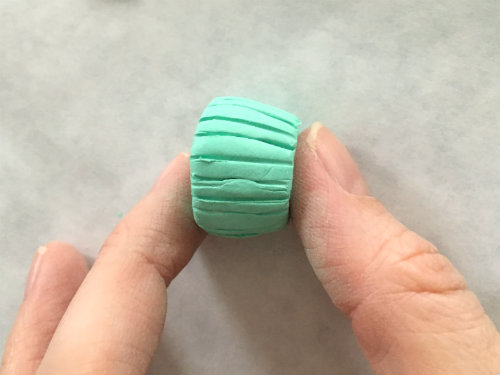
Flatten the bottom of your cupcake base. press the side of your needle into the side of the cupcake base to create the grooves in the base.
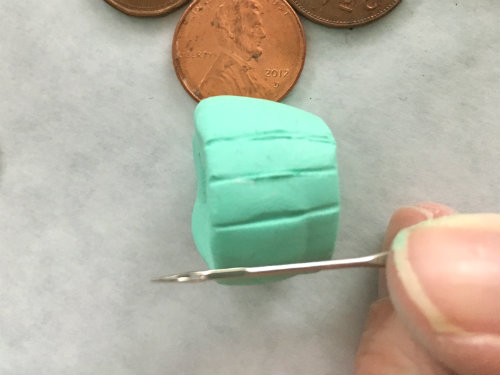
You may need to hold the base while you create the markings, so the table doesn’t flatten the markings on the back side as you work your way around.
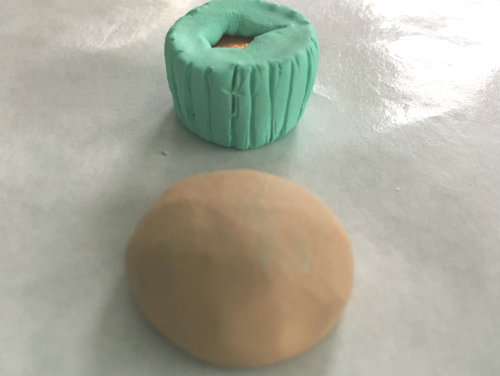
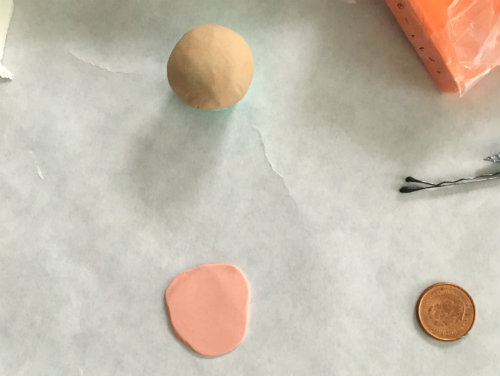
Create a cupcake top by rolling a ball and flattening it down. You may have to play with the size a bit to get the correct proportions.
Roll a ball in the ‘icing’ colour you have chosen.
Squish the ball flat to create the icing shape.
Place the icing on top of the cupcake and press it into place.

Cut small rectangular pieces of clay to create the ‘sprinkles’.
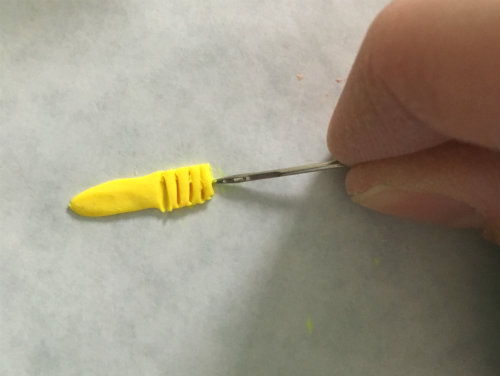
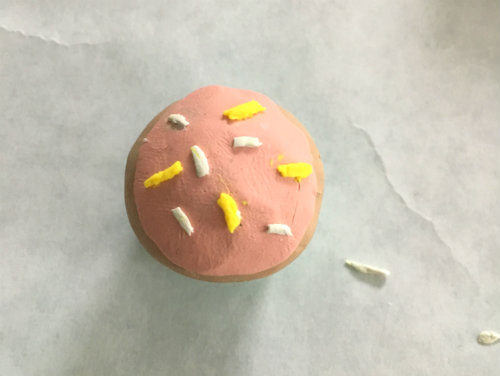
Place the sprinkles on top of the cupcake (I used the needle to pick them up and place them). Press them down slightly to secure them to the ‘icing’ clay piece (but not too hard… you don’t want to squish them).
Finally cook your clay in your oven according to the directions on your package.
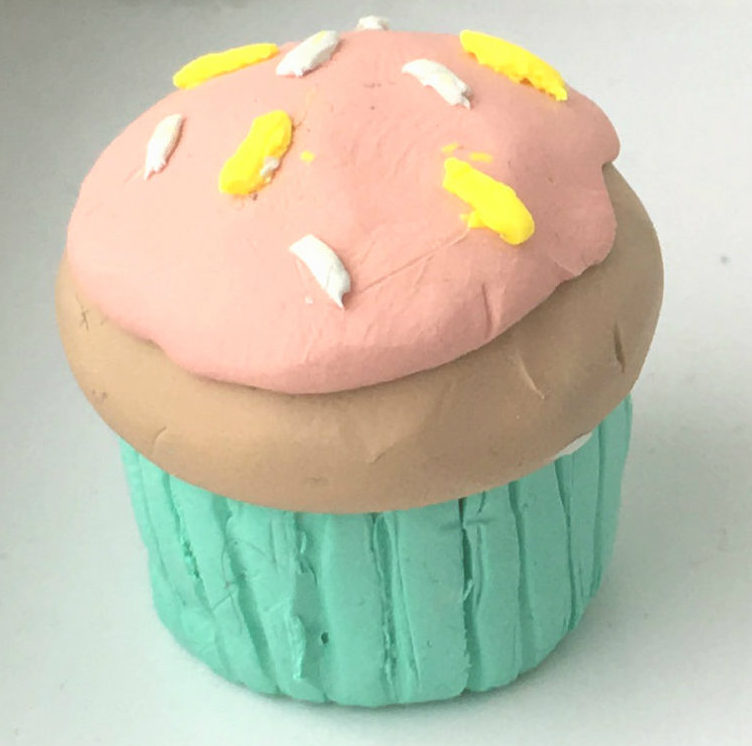
And now, you have completed your adorable Sweet Treat Clay Pattern Weights.
And if treats aren’t really your thing, there are lots of other fun designs you can come up with!
Now go sew 😉
These weights are darling! Thank you for the post.
I wish you would resume your podcasts. I really enjoyed them and I listen to them over again especially the one on the capsule wardrobe.