
I think we all use unconventional pattern weights at times. iPhones, canned goods, scissors & tape, wine bottles… really anything nearby with a bit of weight works as a pattern weight. BUT if you are wanting a cuter, more consistent set of pattern weights I have 3 super easy DIY options for pattern weights you can create! There are actually 6 options total but using 3 different methods. Don’t forget I also shared my DIY Clay Pattern weights here if you’d like to try those instead.
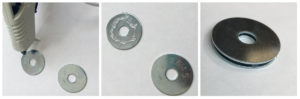
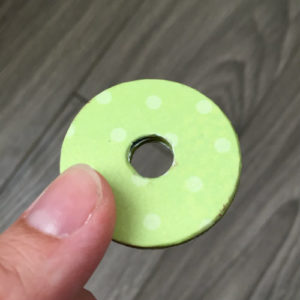
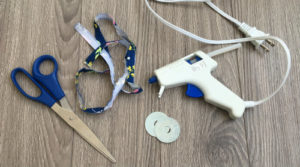
For each of the methods below you will start with two 1.5″ washers. Using a glue gun, glue the two washers together.
-
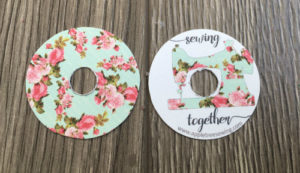
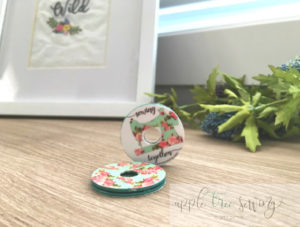
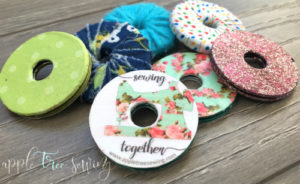
My Favourite Way! SEWING TOGETHER Pattern Weights!!
You might not know this but I have a little podcast on iTunes called Sewing Together. On the podcast I share some sewing tips and ideas. Well I created this cute printable template to create your own Sewing Together pattern weights. This way when you use them you can feel like we are all sewing together ♥
You can download the template here: Sewing Together Pattern Weight Template
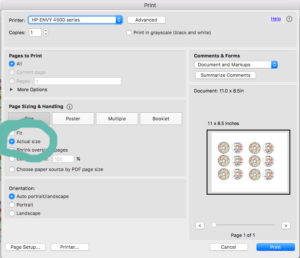
I like to print the template on cardstock. Be sure to print ‘Actual Size’:
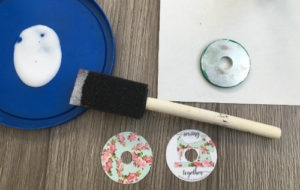
For this tutorial you will need:
- The two washers you have glued together
- A printed copy of the Pattern Weight Template.
- Small scissors
- Coloured nail polish
- Mod Podge
- Pencil and cup for drying.
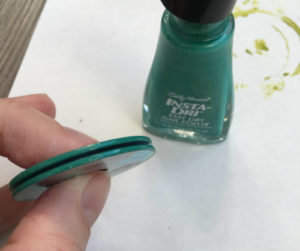
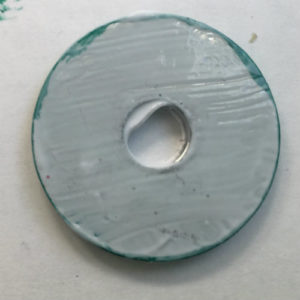
a. Using nail polish, paint the sides of your glued washers:
b. While that dries, cut out your templates.
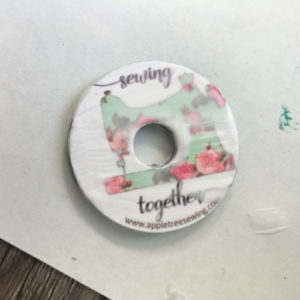
c. Apply Mod Podge to one side of the glued washers.
d. Place your cut template on the Mod Podged side, aligning the edges of the template with the edges of the washer.
Repeat for the other side.

e. Apply a layer of Mod Podge on top of the template, being careful to spread it quickly so it does not smear the printed ink. The Mod Podge dries clear so don’t worry if it looks white here.
Hold the pattern weight when you apply Mod Podge to the back as the opposite side will still be sticky. Don’t set it down 😉
f. Slide a pencil through the centre of the washer and place on the rim of a cup to dry.
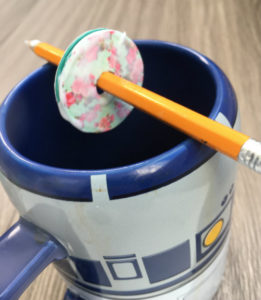
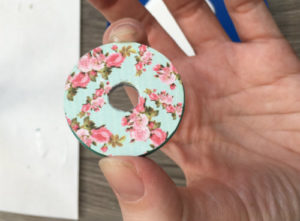
And you’re done!
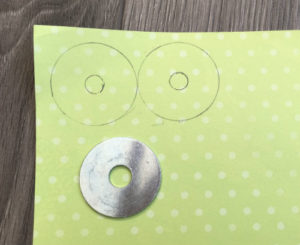
You can also use this same method with scrap book paper. Just trace the pattern weights to create the template and follow the same process!
 .
. 
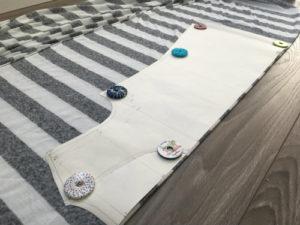
2. Fabric Scraps Pattern Weight:
For this tutorial you will need:
- Your glued together washers
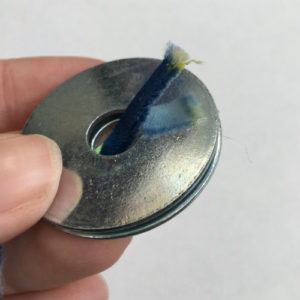
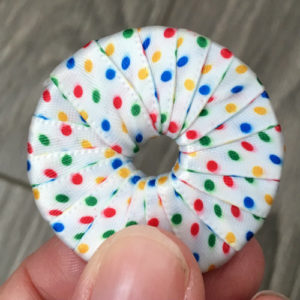
- Fabric scraps cut into thin strips. I like to use the printed selvedge for this as the one side will not fray
- A glue gun
a. Slide one end of the fabric strip through the centre of the washer so the wrong side of the fabric is touching the washer. Glue in place.
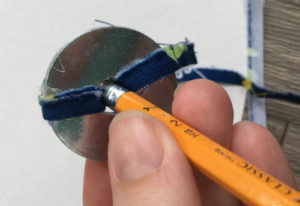
b. push the long end of the fabric back through the hole of the washer, making sure the fabric lays flat against the washer. You may want to use a pencil to help push the fabric through the hole.
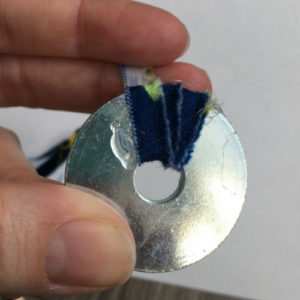
c. Continue wrapping the fabric around the washer. Once you have looped the fabric 3 or 4 times, place a dab of hot glue on the washer and press the fabric into it to hold it in place. Continue wrapping the fabric around the washer, placing glue after every 3 or 4 wraps.
d. Once you have fully wrapped the washer, trim the end of the fabric and glue in place.
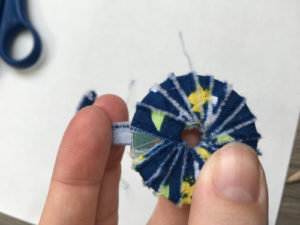
And you’re done!

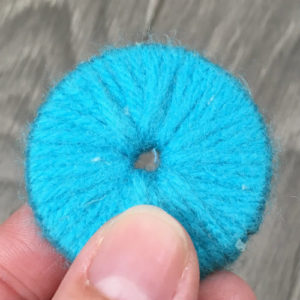
This method can also be used with yarn or ribbon:
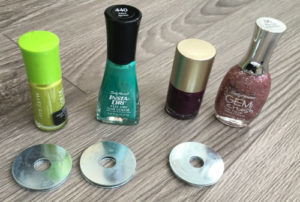
3. Paint Them!
For this tutorial you will need nail polish and your glued washers. You may also want to use a pencil and cup for drying as in method 1.
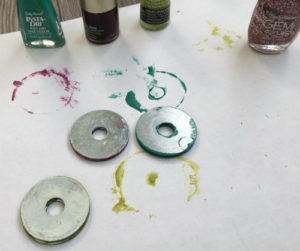
a. Paint the sides of your glued washers.
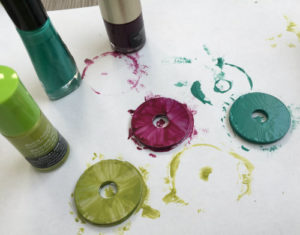
b. Paint the top of your glued washers. Once the top has dried, flip them over and paint the bottom.
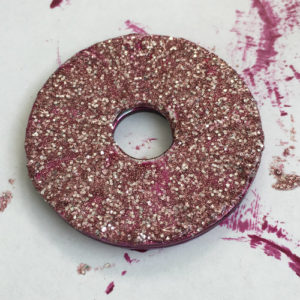
c. Once the paint has dried you can add a clear coat or spice it up with a glitter coat 🙂

WARNING: You may have to take a detour if you have a little one watching you and paint some toe nails as well 😉

And you’re done!!

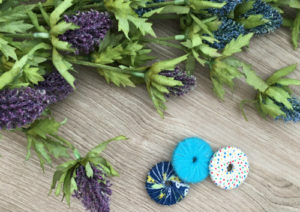
So those are 3 ways (with 6 options) to create some DIY adorable pattern weights. Which method is your favourite? Share in the comments below!
 .
. 
Love all three methods. Just to let you know don’t feel down because there’s no comments I’ve read your blog many times love it. My first time commenting