
As you might know, the newest Apple Tree Pattern was just released! The Grow Fonder Shirt or Tunic is another grow with me pattern that comes in 3 sizes; 3-12 months, 1 – 3 years and 3-6 years. This top has so many fun options! You can create a tunic length or shirt length version, a long or short sleeved version and a cowl neck or neckband version. This gives 8 total options you can choose between for your final garment! And guess what!? I’m about to show you one more!
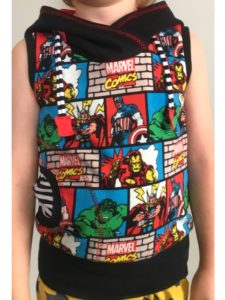
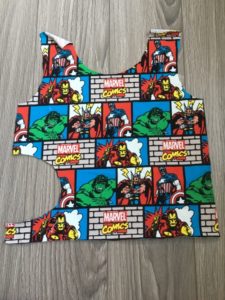
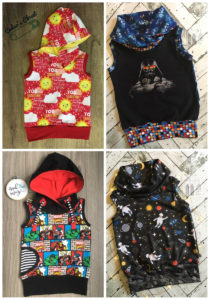
During testing Amy over at Brooklyn Bird Design had the awesome idea to try out a sleeveless version of the Grow Fonder to make this a great fall staple piece for her kids. Layer this sleeveless garment with a long sleeve shirt and its the perfect fall essential. The best thing about this? Since it’s a grow-with-me style, it will likely still fit in the spring when your little one can wear it as a cool sleeveless top!
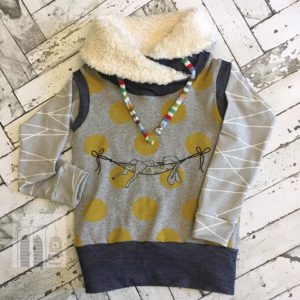
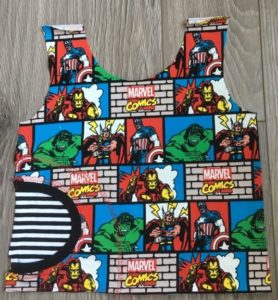
For this tutorial I will also show you how to use some pieces from The Bunnyhug Grow with me hoodie to make a cowl-hood mash up and peek-a-boo pocket for your Grow Fonder shirt!
In this tutorial I am going to show you how to create a sleeveless version of the Apple TreeGrow Fonder shirt. I also use the Apple Tree Bunnyhug to adapt the Grow Fonder shirt into a hooded version with a peekaboo pocket. To complete this tutorial you will need both the Grow Fonder and Bunnyhug patterns.
The pattern pieces you will need are as follows:
- The Grow Fonder Front and Back Bodice Pieces
- The Grow Fonder Waistband Piece
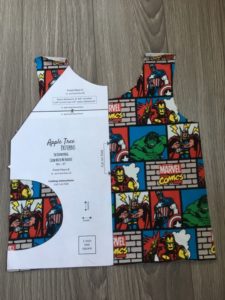
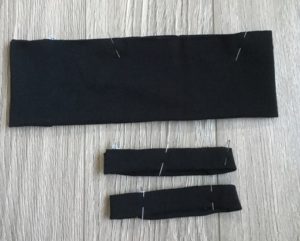
- Armband pieces cut according to the table below:
| 3 – 12 months size | Cut 2 armbands 1.75” high, 9“ wide (along the direction of stretch) |
| 1 – 3 years size | Cut 2 armbands 1.75” high, 10“ wide (along the direction of stretch) |
| 3 – 6 years size | Cut 2 armbands 1.75”* high, 11“ wide (along the direction of stretch) |
*If you want a wider armband you can change the height. The photo above uses a 1.75″ band on the 3-6 years size so you can adjust as needed 🙂
- The Bunnyhug Hood piece
- The Bunnyhug Front Bodice piece (to trace the pocket location)
- The Bunnyhug Pocket Band piece
- The Bunnyhug Inside Pocket piece
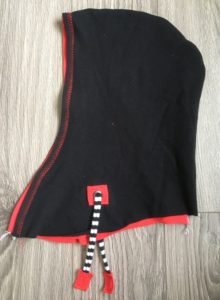
To begin I will show you how I drafted the cowl hood:
1. Tape some paper together to use for your new mashed up hood pattern you will create.

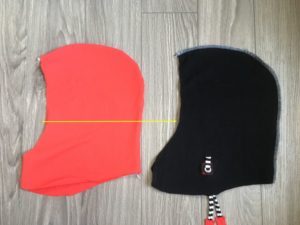
2. Place the Cowl piece on the paper, near the bottom edge. Place the hood pattern piece on top of the cowl piece as shown below.
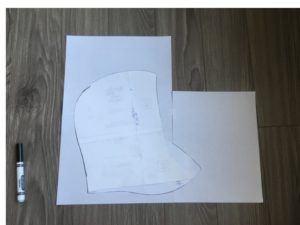
The hood piece should be tilted slightly back so the bottom edge runs sort of in line with the bottom edge of the cowl.
3. Trace the pattern pieces and then make the following adjustments:
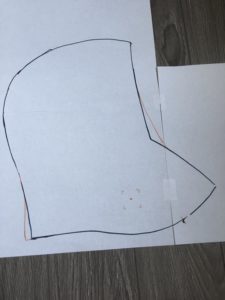
Draw a smooth curve connecting the front of the hood to the top of the cowl.
Add ⅜” to the back of the cowl/hood mash up as a seam allowance (because the original cowl piece was supposed to be cut on the fold).
Add the front center marking from the cowl, grainline and stretch arrows from the cowl and the grommet/drawstring marking if you wish to add the faux drawstring.
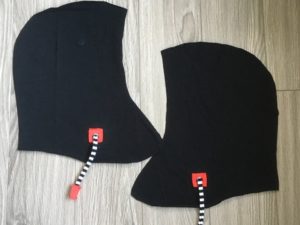
These are the pieces you will need to cut:
- 2 mirror images of your cowl-hood piece from your exterior fabric (with drawstring markings if you choose to add those).
- 2 mirror images of your cowl-hood piece from the lining fabric
- 1 Bunnyhug Inside Pocket
- 1 Bunnyhug Pocket Band
- 1 Grow Fonder Front Bodice
- 1 Grow Fonder Back Bodice
- 2 Armbands (according to the chart above)
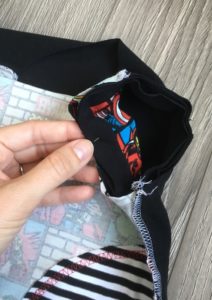
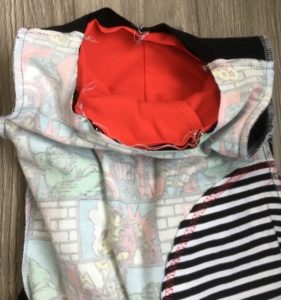
To prepare the front bodice piece, align The Bunnyhug Front bodice with the bottom left edge of the Grow Fonder Front bodice piece you have cut out. Cut the pocket hole out of the Front bodice.
Assemble the pocket as described in The Bunnyhug pattern instructions.
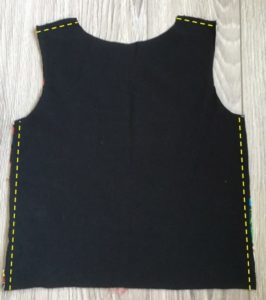
Place the Back bodice piece on the front bodice piece, right sides together, aligning the edges. Pin and sew the shoulder and side seams.
Prepare the armbands and waistband as described in the Grow Fonder instructions.
Place an armband inside the arm hold of the bodice so the cut edges align and the seam in the armband is aligned with the side seam of the bodice.

Pin the armband in place, stretching evenly to fit the armhole. Sew the armband to the armhole.
Attach the waistband as described in the Grow Fonder pattern.
If you wish to add drawstrings, you can add those (according to the Grow Fonder instructions) to your exterior hood piece now.
Place your exterior cowl-hood pieces right sides together aligning cut edges. Pin and sew the back seam. Repeat for lining cowl-hood pieces.

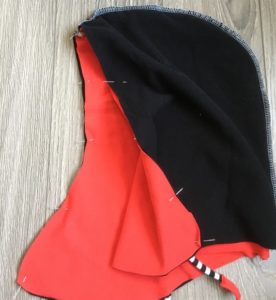
Turn the lining hood piece right sides out (but leave the exterior hood piece inside out) and slide it inside the exterior hood piece, aligning cut edges.
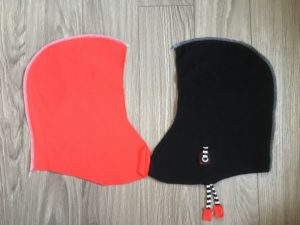
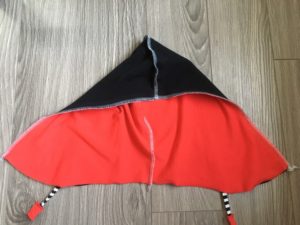
Pin and sew the front of the hood. You may wish to topstitch and press this.
 .
. 
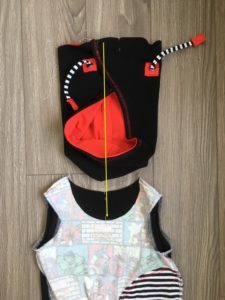
Aligning the front center markings of your hood and pin, just like how you would if it were a cowl. Rotate the hood and slide it into the neck hole of the bodice. Align the front center markings of the hood with the front center of the bodice and the back seam of the hood with the back center of the bodice. Make sure the exterior of the hood is touching the right side of the bodice.
Evenly pin the hood to the neck hole.
Sew the hood to the bodice.
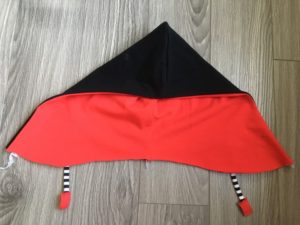
Turn right side out and you are finished!
If you try out this pattern mash up I would love to see what you create! Comment with a link below or join our Facebook group and share your pictures in there! Happy sewing!