
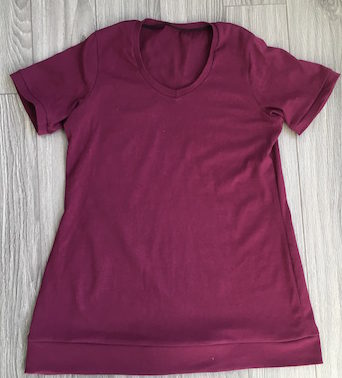
Ok so I don’t like to use the word hate… but I HATE hemming knit fabrics. It’s funny because the finishings on a garment are usually my favourite bits of sewing because it means I’m almost done, and I get that rush of excitement. But this is not the case with hemming knit fabrics. Hemming woven fabrics with little to no stretch is totally fun in my books, but knit fabrics? No thanks.
I don’t have a fancy sewing machine and I don’t have a walking foot, so when I try to finish a shirt hem it can often stretch out and get all wavy. This wavy hem can sometimes make the garment look unprofessional and we all know you don’t want your handcrafted garments to look home-made. Luckily, I have a few different ways you can up your hemming game:
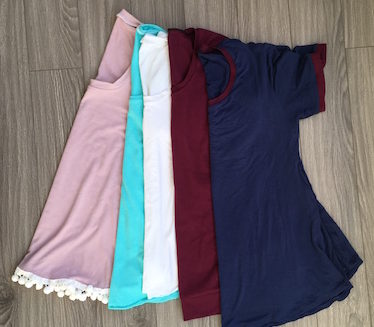
- Decorative Trim:
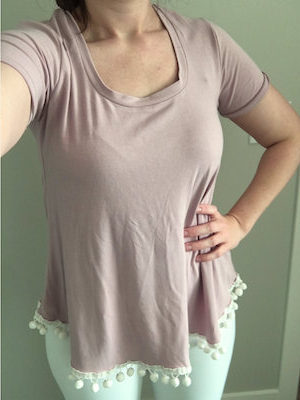
A cute lace or tiny pom pom trim can be a fun way to finish your t-shirt. Using a trim with no (or little) stretch can work if you have a nice wide hem that won’t need to stretch. If I am working with a trim that doesn’t stretch, I like to sew with the trim down against the feed dogs to prevent the feed dogs from stretching out the knit.

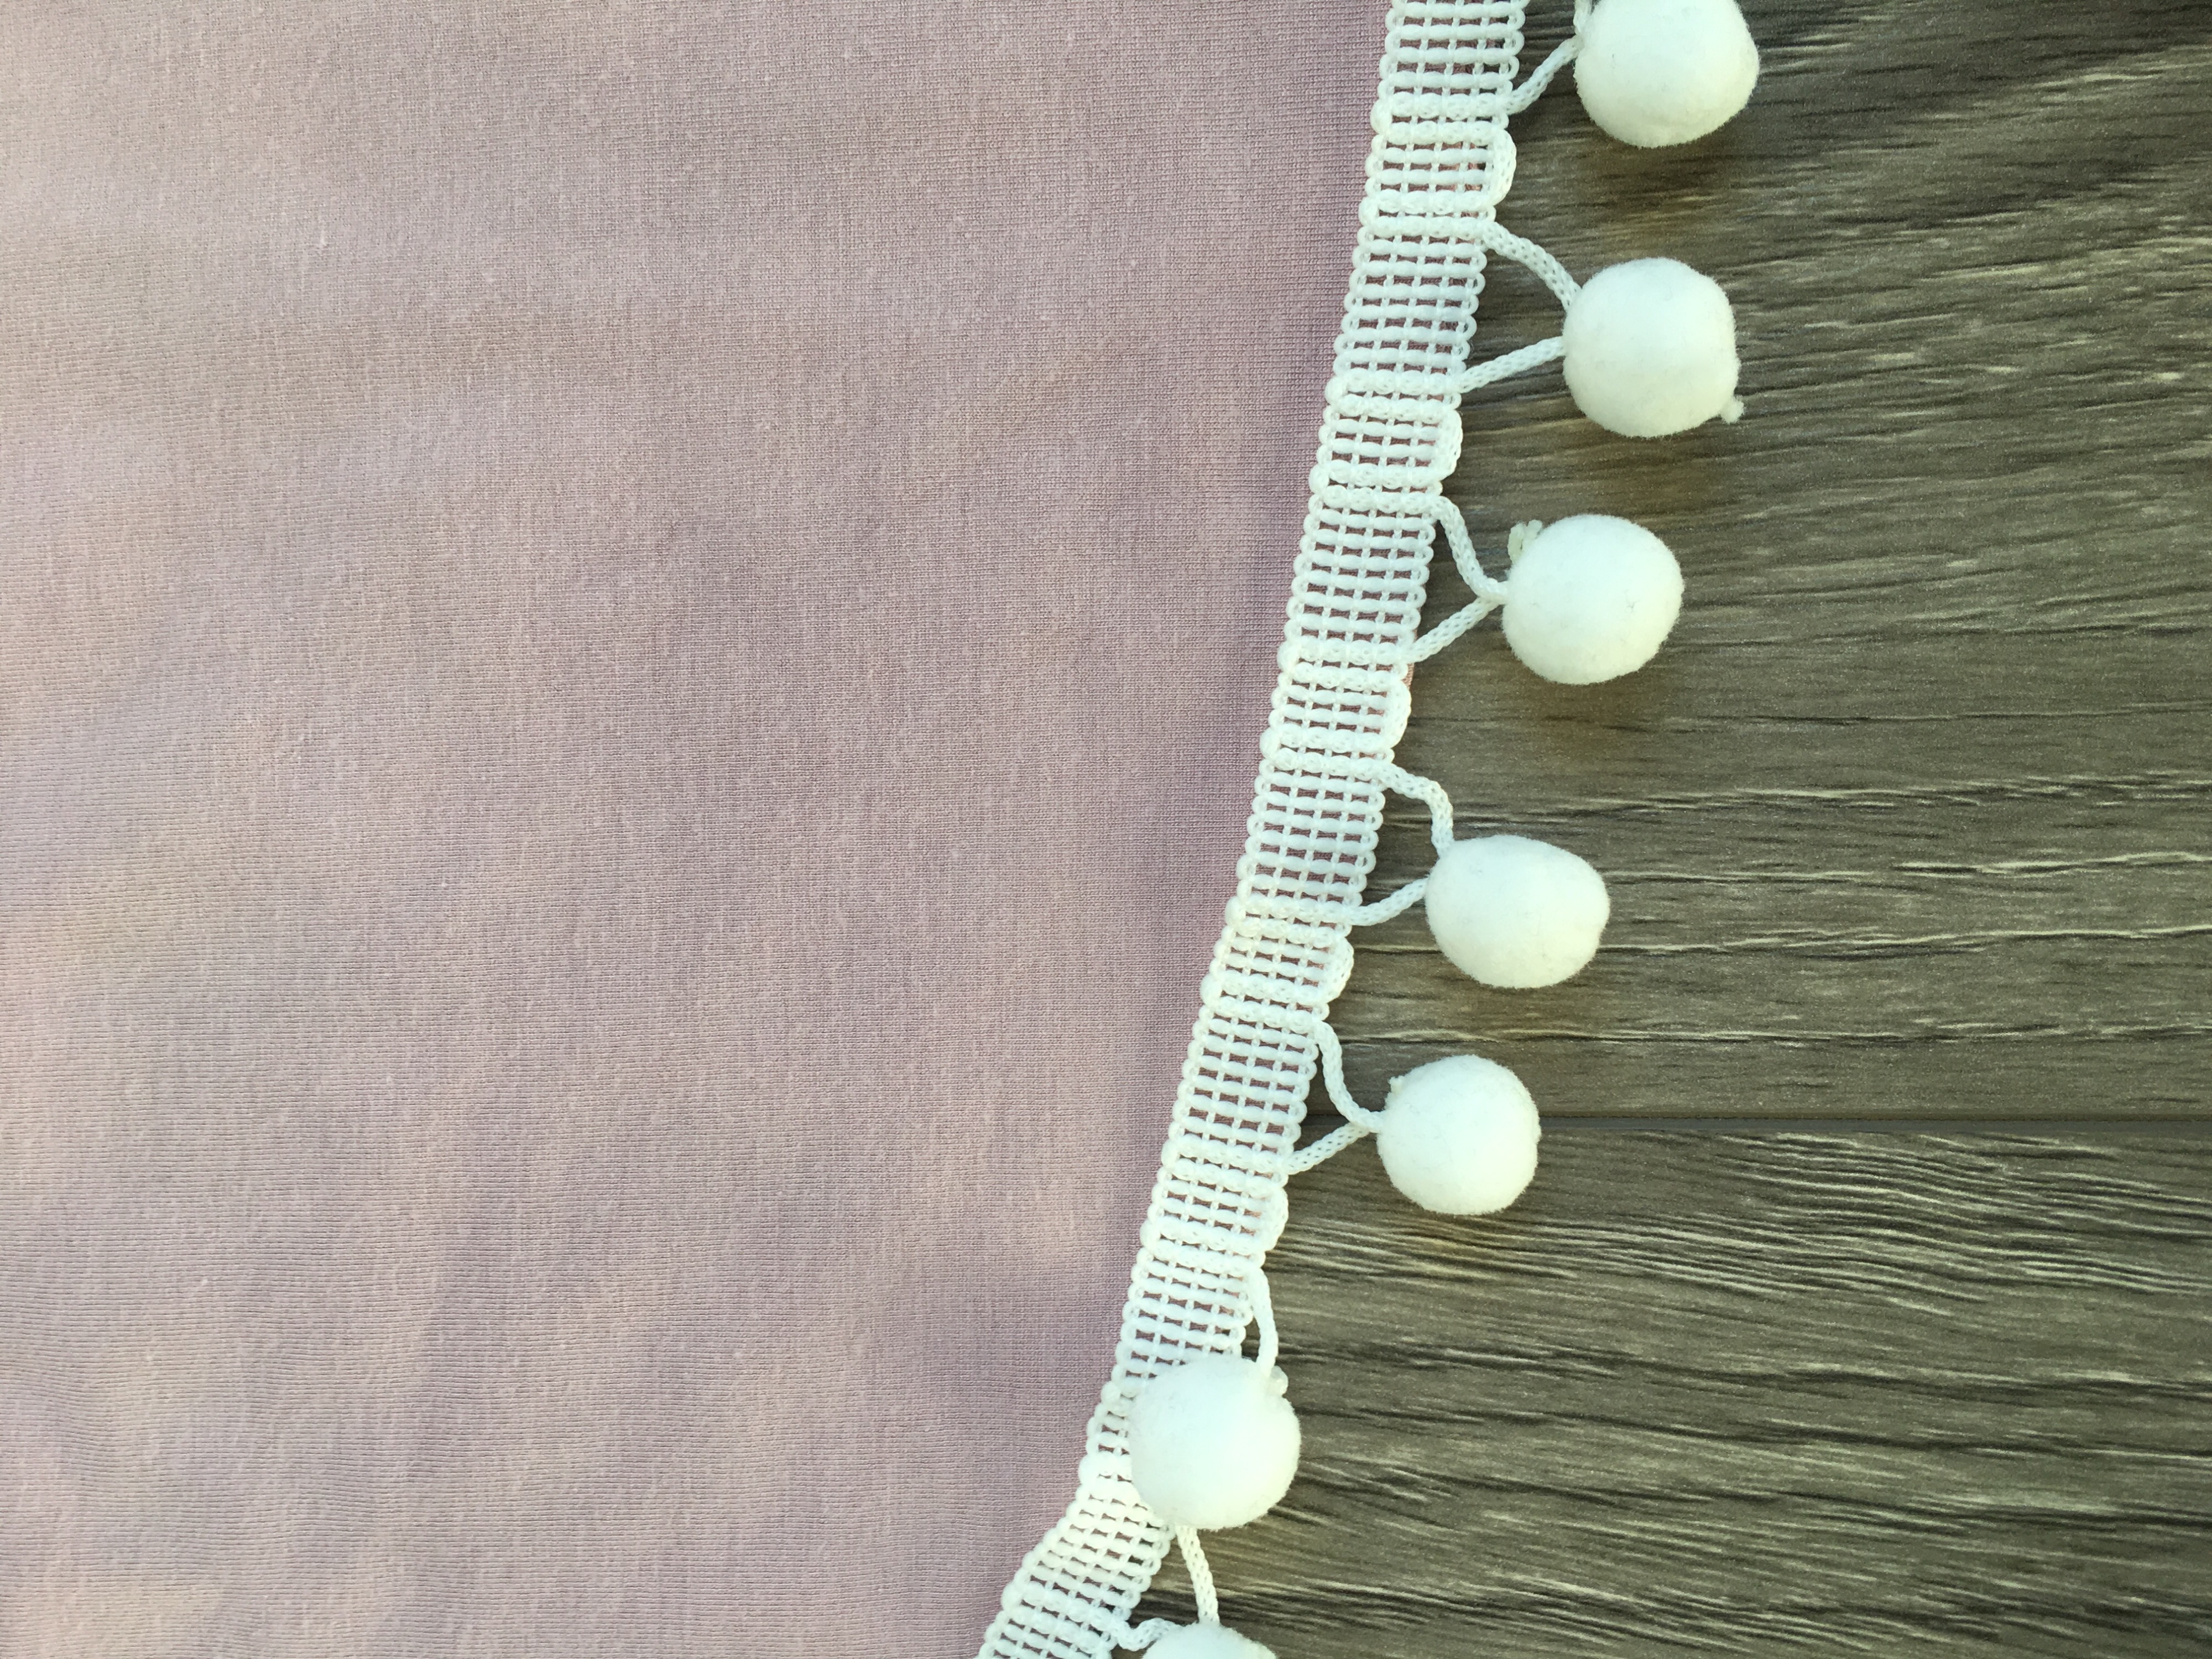
For this T-shirt I didn’t have any of the tiny pom poms so I just used the big pom pom and it gives it a kind of funky look (but I do prefer the tiny pom poms personally).
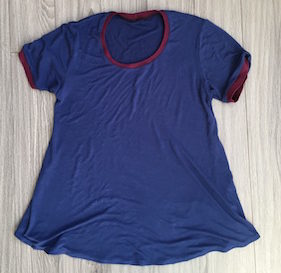
 2. Raw Edge:
Another way to finish a t-shirt hem is to not finish the hem. Haha, ok this one might not be everyone’s style but I can assure you this is the easiest way to finish a T-shirt. Knit fabric is so awesome because it doesn’t fray when you leave a raw edge. A lot of jerseys will naturally roll when the edges are left raw and this creates a cool, trendy natural look for the hem of your garment.
To get those raw edges to roll just cut a straight edge and pull the fabric along the direction of stretch.
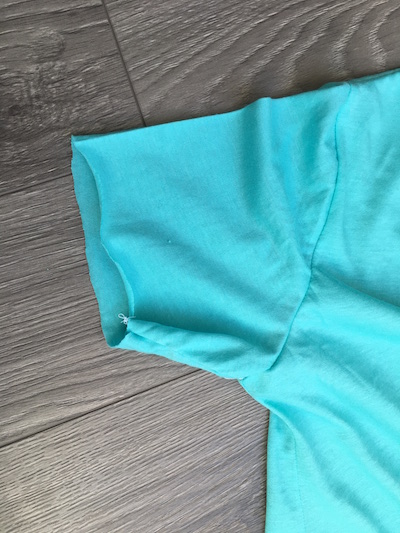
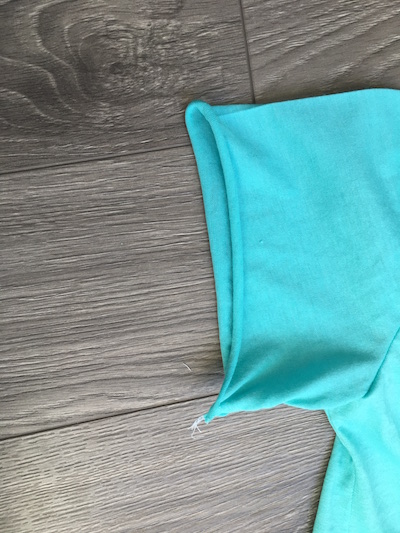
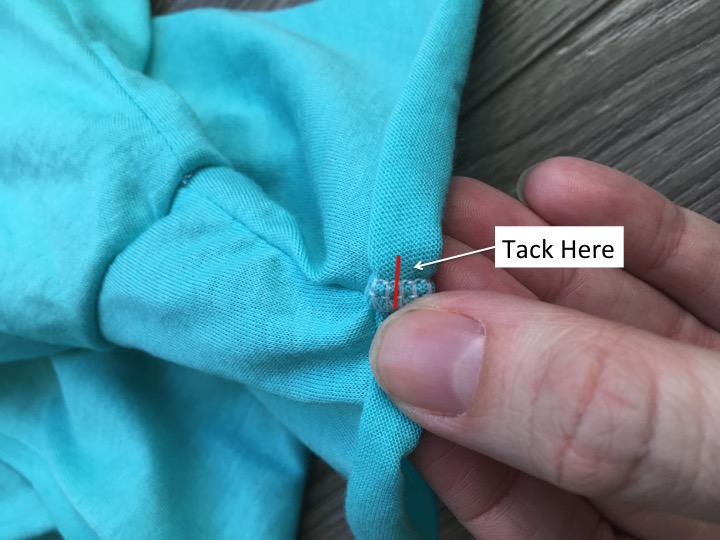
I like to tack the rolled edge in place along the side seams (or underarm seam if you are using this method to finish a sleeve). To do this just set your machine with a wide zig zag (3-4 width) and a low stitch length (just above 0). Along the seam, fold the hem over twice in the direction the fabric rolls (the opposite way you would normally fold a hem) and tack right over the seam to hold it in place.
Note: Some knit fabrics won’t roll, so this won’t work for all fabrics.
My favourite way to leave an unfinished look is to use a serger and do a rolled hem. If you have a serger you can use usually create a rolled hem with a three thread (one needle instead of two), narrow stitch length and up the differential feed so you don’t end up with a lettuce edge. I think most sergers have settings for a rolled hem in the manual. This is how I finish almost all of my t-shirts.
3. Upcycled Hem:
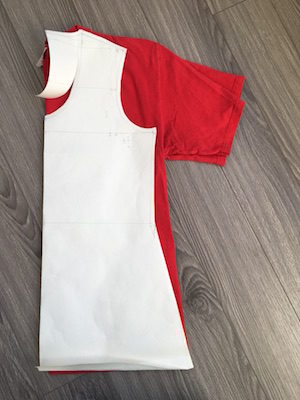
One way to create a professional hem on your garment is to use fabric that’s already been hemmed. In this case you would use a t-shirt a few sizes too large for you to create your garment. Deconstruct the shirt and use the existing hem as your t-shirt hem. Fold the bottom edge of your pattern pieces up so the seam allowance is taken out and align the pieces along the bottom hemmed edge of the t-shirt you are using. Then when you cut out your pieces, they will already be hemmed for you. This gives you a professional hem without you having to do the work. The only problem with this method is that the threads from the side seams can often be seen so you need to use coordinating thread.
 4. Bands/cuffs
This is my favourite way to finish sleeves. I really do hate hemming, but using a band to finish gives you a professional look in a very easy way. Measure the edge you are sewing the band to (sleeve edge or shirt hem) and cut your band a little bit narrower than the circumference you are attaching it to (the stretch of your fabric will determine how much narrower… I think about 85% would work for most stretch fabrics). For my sleeve cuffs I usually cut the bands 2” high (which makes the finished cuff length ½” if I use a ½” seam allowance). Cuffs are folded in half before they are sewn on, so keep this in mind when you are determining the height to cut your cuff.

5. Steam and Tape:
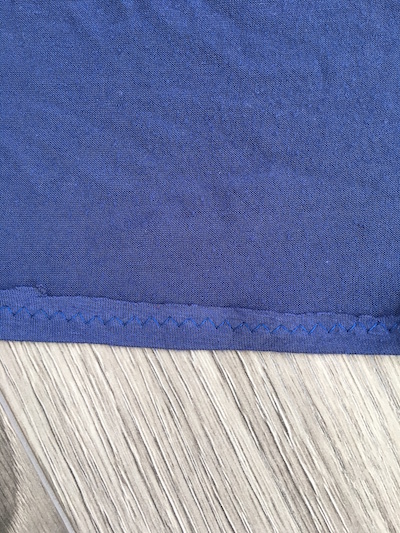
My last tip is how you can create a professional-looking hem using a stretch stitch (or double needle) on your sewing machine. I usually just use the zig-zag stitch on my sewing machine but what often happens is the sewing machine will stretch the fabric which makes the hem wavy. This is why I hate hemming. Using steam from your iron can often help flatten out and shrink those stretched seams (turn your iron on hot with steam and hold it about 1” above the seam). However, sometimes all the steam in the world will not fix that hem.
My FAVOURITE trick if I’m doing a normal hem with a stretch stitch is Wonder Tape. This is the one I ordered (in Canada) http://a.co/387gmKF
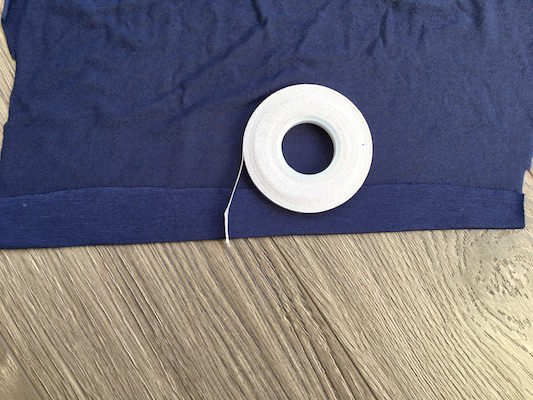
This tape is amazing. It is sticky so no need to iron it on. It sticks to your fabric to hold the hem in place without pins. It doesn’t gum up your needle. It stabilizes the fabric so it doesn’t stretch. And the best part? It washes away when you wash your shirt so you can’t even tell you used it.
To use the wonder tape, just iron your hem using your designated seam allowance, then place the tape along the hemline, peel the backing off and fold the hem up to stick it in place.
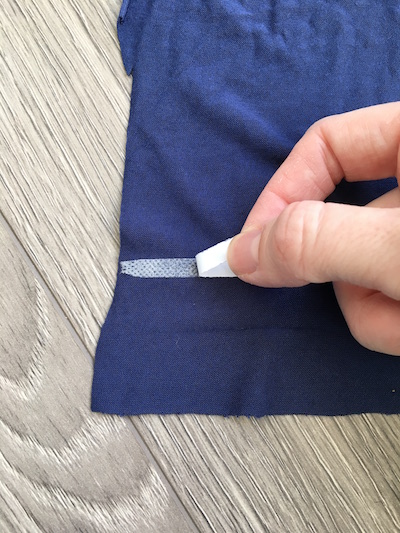
You don’t iron the tape on or anything it just sticks there. Then use your stretch stitch to hem along the edge and the tape holds the hem AND prevents the knit from stretching. Amazing, right?
So there it is. 5 ways to hem a t-shirt (for people who hate hemming).
Okay so I’ve told you about my least favourite sewing task and how I deal with it. Please feel free to share your least favourite sewing task and what you do to make it easier.
Check out my podcast Sewing Together episode 2 for more tips on working with knit fabrics.
I’m not that much of a internet reader to be honest but your sites really nice, keep it up!
I’ll go ahead and bookmark your site to come back later on.
All the best
Thank you! You’re my first comment (and probably the first person other than my mom to visit the website) 😉
I am still learning how to create a website but having fun figuring it out! Do you sew?
Hello! Quick question that’s completely off topic. Do you
know how to make your site mobile friendly? My blog looks weird when browsing from my iphone.
I’m trying to find a theme or plugin that might be able to fix this problem.
If you have any recommendations, please share.
Appreciate it!
Thanks for your comment. I didn’t do anything specific to make it mobile friendly. I think the theme just did it 🙂 It’s called Barletta. It’s the only theme I’ve ever used but I think it’s great. Super easy to use.
Amazing! This blog looks exactly like my old one!
It’s on a entirely different subject but it has pretty
much the same page layout and design. Great choice
of colors!
Your alterations are great! Glad I stopped by! ?